
In today’s digital world, images come in many formats, each optimized for different uses. Common image formats include JPEG (JPG), PNG, and WebP, among others. JPEG files (named for the Joint Photographic Experts Group) were introduced in the 1980s and are the standard format for photographs on websites and cameras. JPEG supports millions of colors and compresses images using a lossy method – that means some image data is discarded to make files smaller.
In contrast, PNG (Portable Network Graphics) is a later format designed for lossless compression: it preserves all image details, supports full-color (including millions of colors), and – importantly – handles transparency (alpha channels) beautifully. PNG files tend to be larger than JPEG for complex photos, but they’re perfect for graphics like logos, icons, or screenshots where clarity and transparent backgrounds matter.
A newer format, WebP, was created by Google to combine the best of both: it supports lossy and lossless compression, full color, transparency, and even animation. WebP images are typically much smaller than equivalent JPEG or PNG files – often about 25–34% smaller than JPEG and roughly 26% smaller than PNG at similar quality. In short, JPEG is great for photos, PNG is great for sharp graphics and transparency, and WebP offers modern, highly compressed images ideal for fast-loading web content.

In the digital workflow, content creators and developers frequently work with these formats. For example, photographers often shoot in JPEG for its balance of color fidelity and file size, while graphic designers use PNG for logos or icons that need a transparent background. Web developers may prefer WebP images because of the smaller file sizes and wide browser support. Understanding the differences helps decide which format to use and when a conversion is needed.
What is JPEG (JPG)?
JPEG stands for Joint Photographic Experts Group. Introduced in 1986, it quickly became the standard image format for photographs and complex scenes. All major web browsers and digital devices support JPEG. Its strength lies in efficient lossy compression: JPEG saves images by reducing detail in a way that is often imperceptible to the human eye, resulting in much smaller file sizes.
This makes JPEG ideal for realistic photographs with many colors and gradients. For example, a photo of a landscape or a portrait will look good as a JPEG with a relatively small file size. However, because it is lossy, repeatedly editing and saving a JPEG can degrade quality over time. JPEG does not support transparency or animations; any backgrounds are flattened and any further editing of edges is limited. In summary:
- Pros: Supports millions of colors, great for detailed photographs, produces relatively small file sizes.
- Cons: Lossy compression means some detail is lost; no transparency, no animations.
What is PNG?
PNG stands for Portable Network Graphics. Released in the mid-1990s as an improvement over GIF, PNG is an open, lossless image format. Unlike JPEG, PNG compresses images without losing any pixel data, so the quality remains 100% even after saving. PNG files can use millions of colors (true color) and also support alpha transparency.
This means you can have a clear or semi-transparent background, which is why logos, icons, and graphical elements are often saved as PNG. For example, a website logo in PNG will float nicely over any webpage color without a white box around it. PNG is also good for text-heavy or flat-color images (like charts or screenshots) because it keeps edges sharp. The trade-off is file size: PNGs of complex photos can be quite large, often larger than an equivalent JPEG. In summary:
- Pros: Lossless compression (no quality loss), supports transparency (alpha channels), excellent for graphics and images requiring clarity.
- Cons: Larger file sizes for photos or detailed images; not efficient for complex scenes.
What is WebP?
WebP is a modern image format developed by Google (introduced in 2010) to replace older formats like JPEG, PNG, and GIF. It offers both lossy and lossless compression, and can include transparency and even animation. The big advantage of WebP is compression efficiency. WebP images are typically much smaller than JPEG or PNG files at the same visual quality.
Google’s documentation notes that WebP lossless images are about 26% smaller than PNG, and WebP lossy images are 25–34% smaller than JPEGs of equivalent quality. In practical terms, a photo saved as WebP could load significantly faster on a website than the same photo in JPEG or PNG, without a noticeable drop in appearance.
WebP is supported by all major modern browsers (Chrome, Firefox, Safari, Edge, Opera), and many image tools can open or export WebP. Because of its flexibility, WebP is an excellent all-purpose format for web images: it can do what JPEG and PNG do (photos and graphics with transparency), but in a smaller package. In summary:
- Pros: Superior compression (often 30% smaller files); supports both lossy and lossless modes; supports transparency (alpha) in either mode; supports animations.
- Cons: Less support in some very old software or browsers (fallback to JPEG/PNG needed); editing tools historically less common than for JPEG/PNG (though this is rapidly improving).
Comparing JPG, PNG, and WebP
Choosing between JPG, PNG, and WebP often depends on the use case. Here’s a quick breakdown:
- JPEG (JPG): Best for rich photographs or images with lots of colors and gradients. It yields relatively small files due to lossy compression. However, it loses detail each time it’s saved, and it does not support transparency.
- PNG: Best for graphics, logos, screenshots, or any image needing crisp lines and/or transparency. It preserves all details perfectly. The downside is larger file size for complex images.
- WebP: Best for most web uses where file size matters. WebP often creates the smallest files (roughly 25–30% smaller than JPEG of the same quality) while still delivering high quality. It supports transparency and even animation. With broad browser support today, WebP can effectively replace JPEG/PNG in many cases.
Quick Tip: A good rule-of-thumb is: use JPEG for photographs and complex images, use PNG for logos or images that need transparency, and use WebP whenever you want the smallest file size on the web (with compatible browsers).
For example, graphic designers frequently keep logos in PNG format (because of transparency) and save photos in JPG. Web developers may convert those photos to WebP for a website to improve loading speed.
Why Convert Between Image Formats?
At times, you might find your images are in a format that isn’t ideal for their purpose. Converting between formats is a simple way to solve problems like file size, quality, or compatibility. Some common reasons to convert include:
- Reduce File Size: Large images can slow down webpages and apps. Converting a JPEG or PNG to WebP can significantly shrink the file size – often by 25–35% – without a noticeable loss in quality. Smaller images load faster, use less bandwidth, and improve site performance. This faster loading can even boost SEO rankings, since search engines favor quick pages.
- Add Transparency: If you have a JPEG image (which doesn’t support transparency) but need a transparent background (say a photo of an object without its backdrop), convert it to PNG or WebP. PNG/WebP will let you “cut out” or fade the background. This is useful for logos, cutouts, and graphic design. (For example, the WPBeginner team notes that PNG is the best format for logos precisely because of its transparent background support.)
- Improve Quality: Converting to a lossless format like PNG or WebP (lossless mode) can preserve image quality if you plan to edit or print. For instance, converting a JPG screenshot to PNG for editing means you won’t add more compression artifacts during editing.
- Ensure Compatibility: Older browsers or software might not handle WebP, and some tools only accept JPG/PNG. In such cases, you may convert WebP back to JPG or PNG as a fallback. Conversely, you may convert legacy GIFs to WebP for animation, or HEIC/RAW to JPG for general use.
- Optimize for Platforms: Some platforms or content management systems prefer one format. For instance, if you need to upload to a system that only takes PNG or JPG, you’d convert accordingly.
Tools like image editors (Photoshop, GIMP) can convert formats, but online converters make it easy without installing software. An online image converter (like ImproConverter.com) can handle all these conversions in the browser. By converting formats, you tailor your images to the needs of your project.
How to Convert Images (JPG, PNG, WebP)
Converting image files between formats is usually straightforward. Most online converters follow a simple process:
- Open the Converter Tool: Go to a site like ImproConverter.com or another image converter.
- Upload Your Image: Click the “Choose File” or “Upload” button and select your JPG, PNG, or WebP file from your device. (Some tools also let you drag-and-drop the file, or import from cloud storage.)
- Select the Output Format: Choose the new format you want (e.g. “Convert to WebP” or “Convert to PNG”).
- Convert: Hit the “Convert” button. The tool will process your image.
- Download: When the conversion finishes (usually in seconds), a “Download” link appears. Click it to save the converted image to your device.
Most online converters are free and secure, working directly in your browser. For example, FreeConvert’s PNG-to-WebP guide shows that you simply select files, click Convert, and then Download your new WebP image. It’s that easy — no software installation needed.
ImproConverter.com follows the same steps. Its interface is designed to be user-friendly: choose your file, select the desired format (JPG, PNG, WebP, etc.), and convert. The result is a high-quality image in seconds. You can even batch upload multiple images if you have many to convert. Behind the scenes, our converter uses advanced compression (similar to Google’s cwebp tool) to ensure images stay crisp even after shrinking.
In short, converting images is often just a few clicks. Here’s a quick summary of converting a JPEG to WebP (an increasingly common need):
- Step 1: Click “Choose Files” and pick your .jpg photo.
- Step 2: Select “WebP” as the output.
- Step 3: Click “Convert to WebP”.
- Step 4: Download your new .webp file.
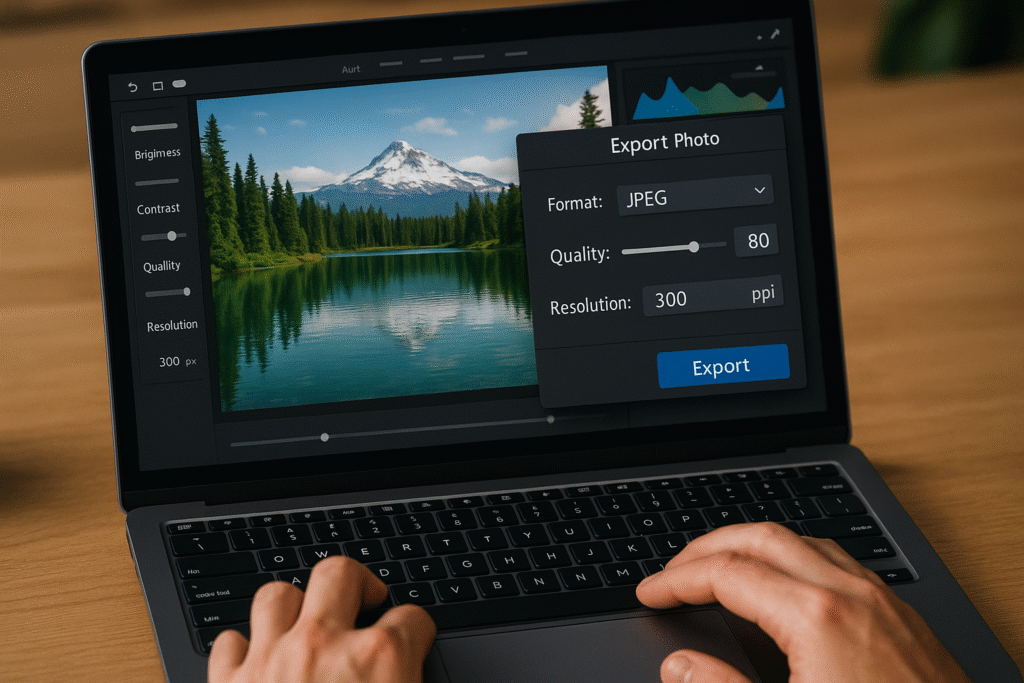
According to Google’s WebP documentation, converting to WebP can reduce image file size by roughly a third while preserving visual quality. That means a converted WebP photo will load much faster on a webpage than the original JPEG. Converters may also offer advanced settings: for example, you can adjust image quality or enable lossless mode. In general, a quality setting of around 80–90 (default) is a good balance: it keeps the image looking great but cuts the size significantly.
Many tools even allow you to resize or compress during conversion: reduce pixel dimensions, apply lossless compression, or strip metadata. These options can further shrink file size. For instance, FreeConvert’s PNG-to-WebP converter page explains that lowering the quality value yields smaller files. ImproConverter includes similar options, so you can decide how much to compress. By adjusting these controls, you solve the problem of large images vs. quality.
Improving Website Speed and SEO with Optimized Images
One of the biggest reasons to use formats like WebP is performance. Page speed is crucial for user experience and search rankings. Google specifically notes that faster-loading images (using WebP) make websites quicker and “improve website load times”. Smaller images mean pages render faster on mobiles and desktops alike. Studies show that converting images (e.g. from JPEG to WebP) can reduce page load time by up to 30% or more. This not only keeps visitors happy but also can boost SEO, since Google uses page speed as a ranking signal.
For example, WPBeginner highlights that WebP images are much smaller than JPEG/PNG and lead to “boost your WordPress speed” and better rankings. In practical terms, if a site has many large photos, converting them to WebP or compressing can dramatically cut the load time. This is particularly important on mobile networks where bandwidth is limited. Even social media platforms and blogs optimize images automatically (many serve WebP or similar formats behind the scenes) to provide faster experiences.
In summary, converting images to optimal formats like WebP or compressed PNG/JPEG is a key part of web optimization. It addresses common problems: slow-loading pages, high bandwidth usage, and poor user experience. Using an online converter to reformat and compress images is a quick way to solve these problems.
Introducing ImproConverter.com: Your Go-To Image Converter
If you need a fast, easy, and free way to convert images between JPEG, PNG, and WebP, ImproConverter.com has you covered. Our online tool is designed for simplicity and effectiveness:
- Simple Interface: Just visit ImproConverter.com, choose your file, select the format (JPG, PNG, WebP, or others), and click Convert. No confusing menus or ads.
- Quality Preservation: We use advanced conversion techniques (similar to those Google’s WebP tool uses) to ensure your converted images stay sharp. Many users find that a WebP converted image is noticeably smaller (often 25–30% less size) with no visible loss in quality.
- Free & Secure: The converter is completely free to use, with no signup required. All conversions happen in your browser; we use secure HTTPS (SSL) connections. We don’t keep your files — they are deleted from our servers automatically after processing. This ensures privacy and security while still giving you instant results.
- Multiple Formats: Besides JPG, PNG, and WebP, ImproConverter supports a wide range of image formats. Whether you have a PNG logo you want as WebP, a RAW/JPEG you want to compress, or any other combination, our tool can handle it.
- Batch Conversion: Convert multiple images at once by selecting more than one file. Save time if you have a whole folder of images to optimize.
- Mobile Friendly: Use it on any device. Our site works on desktop, tablet, or smartphone, so you can convert images even on the go.
For example, if you have a photo in JPG format and want it as a WebP for your blog, ImproConverter lets you do that in seconds. The process is seamless: upload your JPG, convert, and download the WebP. Many users report that their WebP images become about one-third smaller in file size, which greatly speeds up web pages. Similarly, if you need to turn a PNG logo into a JPG for compatibility, our site can do that while letting you specify the compression level (so you decide the quality/size balance).
ImproConverter.com solves the common problems of image conversion. Instead of installing software or batch editing manually, you get an automated solution. If you’re a blogger, web designer, or just someone who needs images in a different format, our converter streamlines the task. And because we focus on high-quality conversion, you won’t lose image clarity during the process.
Step-by-Step with ImproConverter: Suppose you want to change a JPEG to a WebP. Go to ImproConverter.com in your browser. Click “Choose File” and select your JPEG. Then pick “Convert to WebP” and press the Convert button. The site converts the image on the fly. Finally, click the Download link to save the new WebP file. It’s as easy as 1-2-3.
Moreover, ImproConverter can be a big help in scenarios like optimizing a website gallery, preparing product images for an online store, or simply making room on your storage drive. Whenever you run into the issue of large images or format incompatibility, our tool is there to solve it.
Tips for Managing Image Formats
- Keep Originals: Always keep a high-quality original (like RAW or PNG) if you plan to edit or reuse the image later. Convert copies when needed, but don’t overwrite your source if it’s valuable.
- Choose Compression Wisely: When converting to JPG or WebP, be mindful of the quality slider. Higher compression (smaller file) means more quality loss. A setting around 80–90% often gives a good trade-off.
- Check Compatibility: If sharing images with clients or on older platforms, be aware that very old browsers might not display WebP. Some converters (including ours) offer to convert WebP back to JPEG/PNG when needed.
- Automate Bulk Tasks: For many images, consider tools that can batch convert (some online converters or desktop apps do this). ImproConverter supports multiple uploads, making batch jobs easy.
- Optimize Size and Dimensions: Besides format, ensure you use an image size suitable for your purpose. A huge 4K photo on a website can be resized to 1080px width if that’s all you need, saving space. Many converters let you set maximum dimensions.
- Use Correct File Extensions: Always save images with the matching file extension (.jpg, .png, .webp). Some systems rely on the extension to know the format.
By following these tips and using the right format, you maintain image quality and performance. For instance, logos and text-heavy graphics in PNG stay crisp, photos become lightweight JPEG or WebP, and transparency needs are handled by PNG/WebP.
Conclusion
Choosing the right image format — and converting between them when necessary — is key to good digital media management. JPEG (JPG) offers wide compatibility and small sizes for photos, PNG delivers perfect quality and transparency for graphics, and WebP provides next-generation efficiency for web images. Each has its place, and understanding their strengths (e.g. transparency in PNG, or compression in JPEG, or the advantages of WebP) lets you solve practical problems.
When you need to convert formats (say, JPG to WebP to speed up a webpage), tools like ImproConverter.com make it easy. With just a few clicks, ImproConverter handles the work of compressing and reformatting images, letting you focus on creative tasks. By optimizing your images with the right format, you ensure your websites load faster and your projects look their best.
Finally, always consider the context: the purpose of the image (web, print, icons, photo) should guide your choice of format. Use conversion tools whenever you encounter a mismatch – for example, converting a high-resolution JPG into a smaller WebP for your blog, or turning a transparent PNG into a JPEG when a system doesn’t support PNG. These are common needs in digital content work, and luckily they’re easy to fix with the right converter.